
-

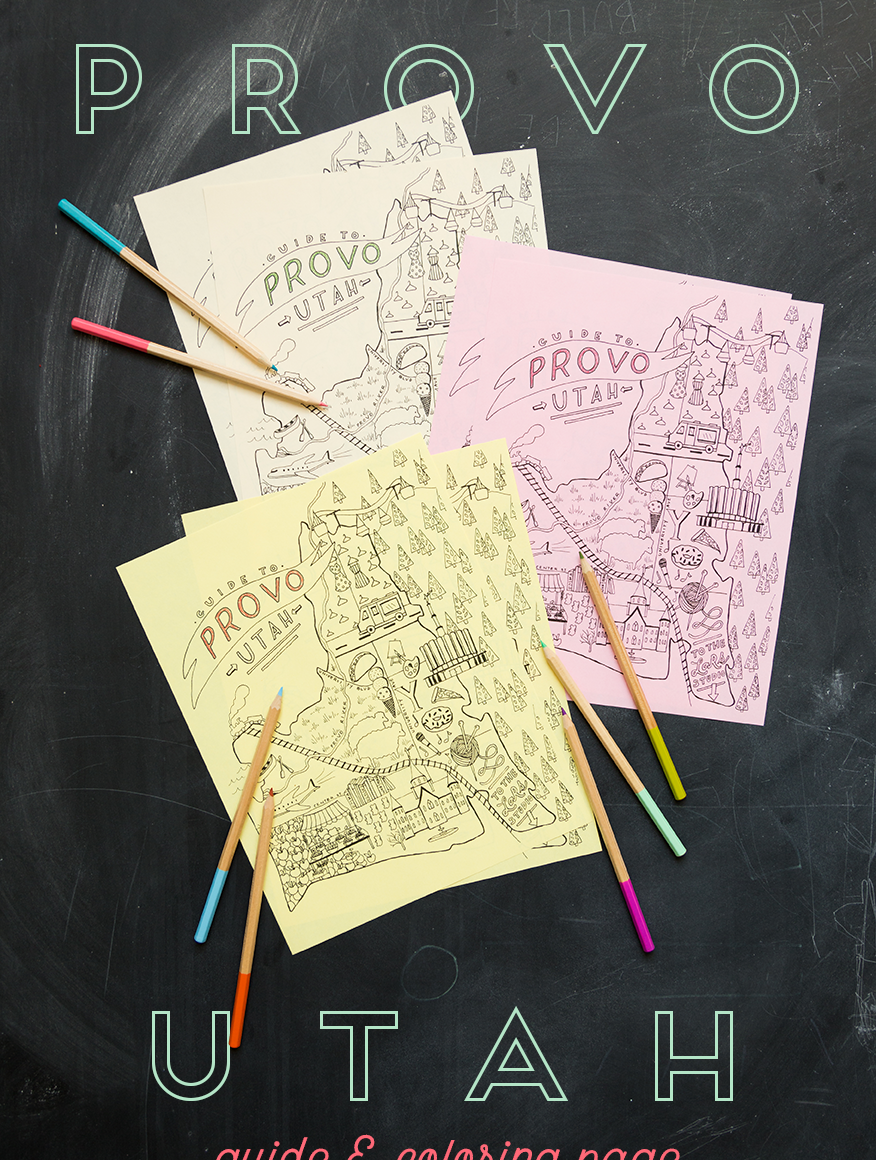
City Guides
Guide to Provo, Utah
-

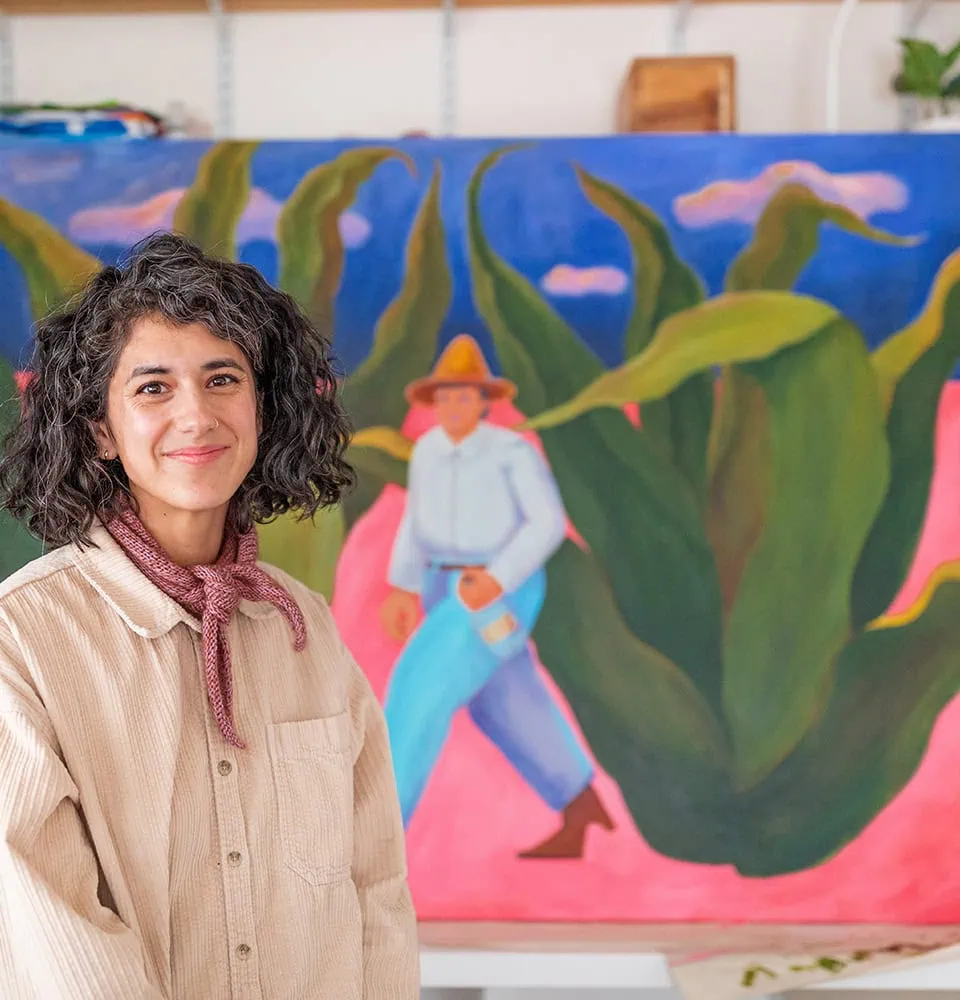
Artist Interview
Becoming: Mika Rane
-

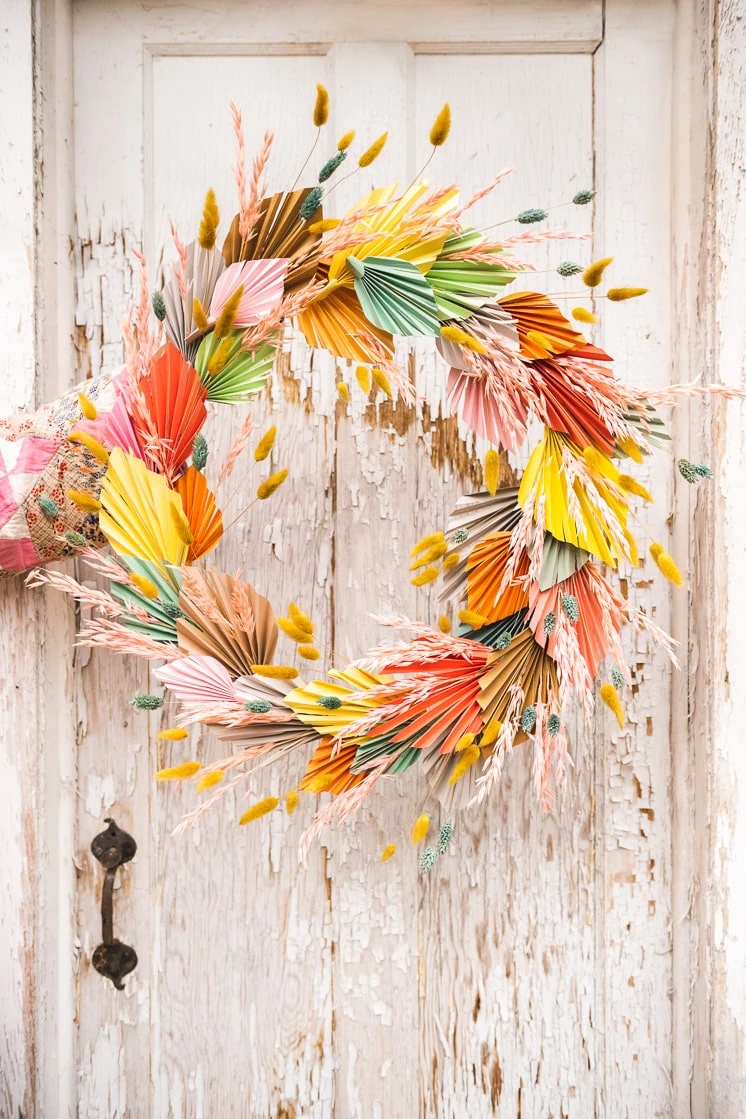
Holiday
Spring wreath ideas
-

-

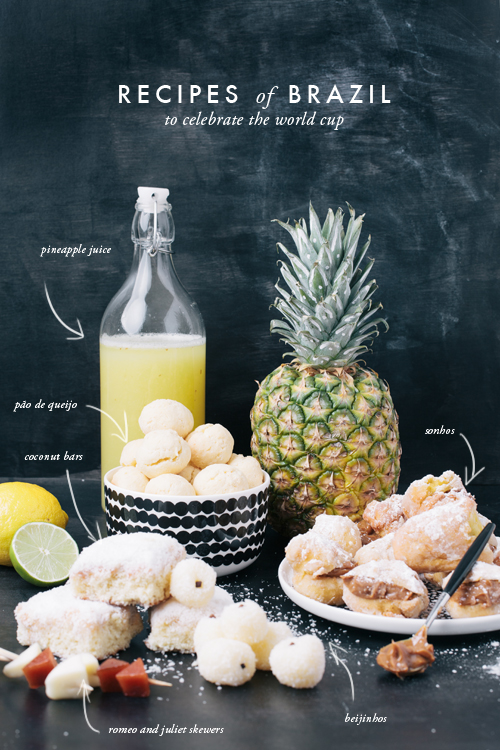
Food & Entertaining
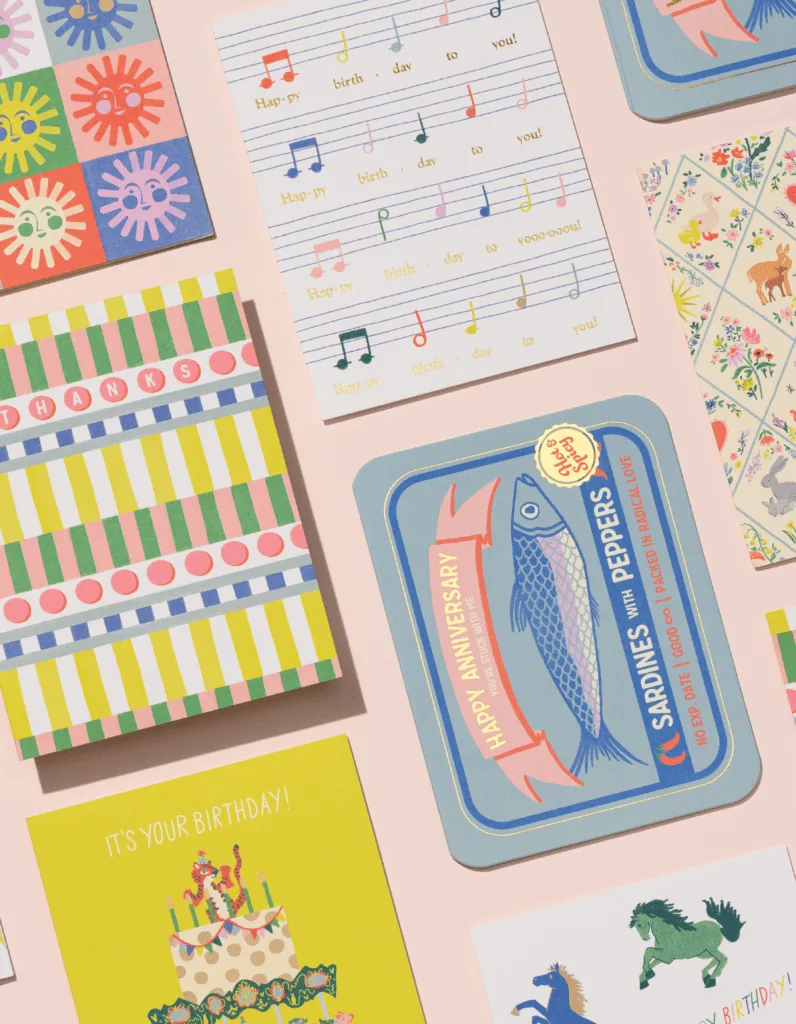
A few tasty Brazilian Recipes to try


Welcome to Lars!
Inspiration for an artful life
Hello spring!
View All
-

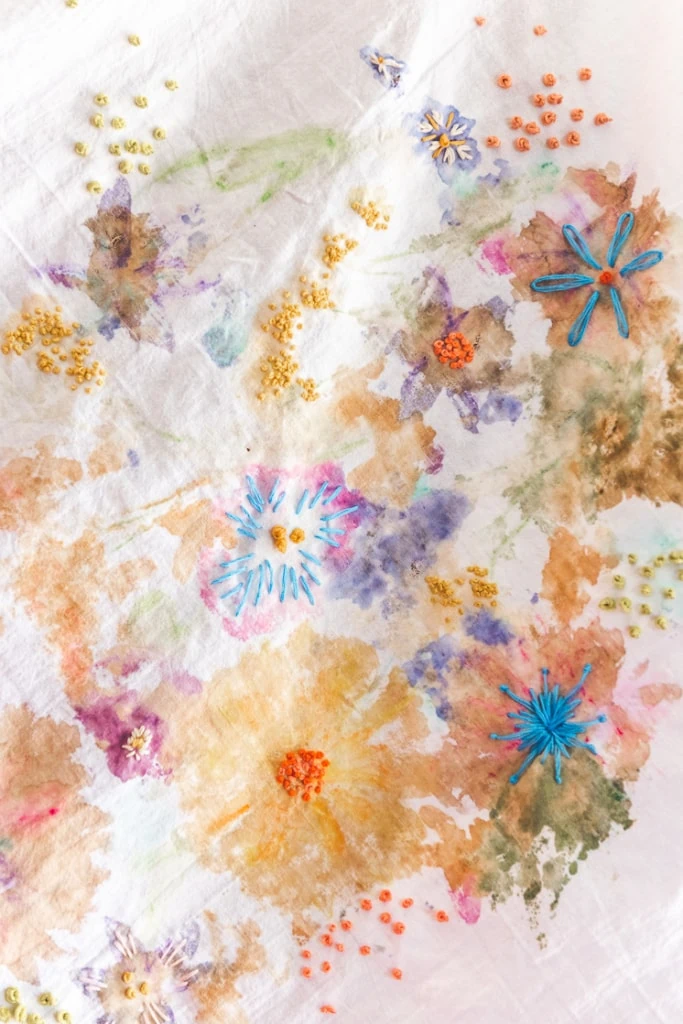
DIY & Crafts
DIY flower pounding on fabric
-

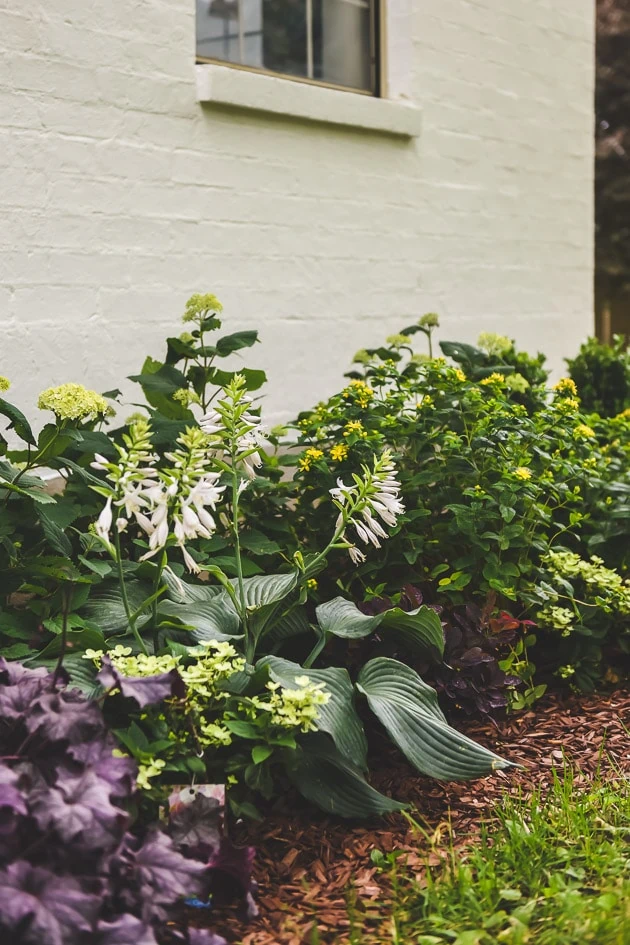
Decor & Interiors
Drought tolerant cottage garden
-
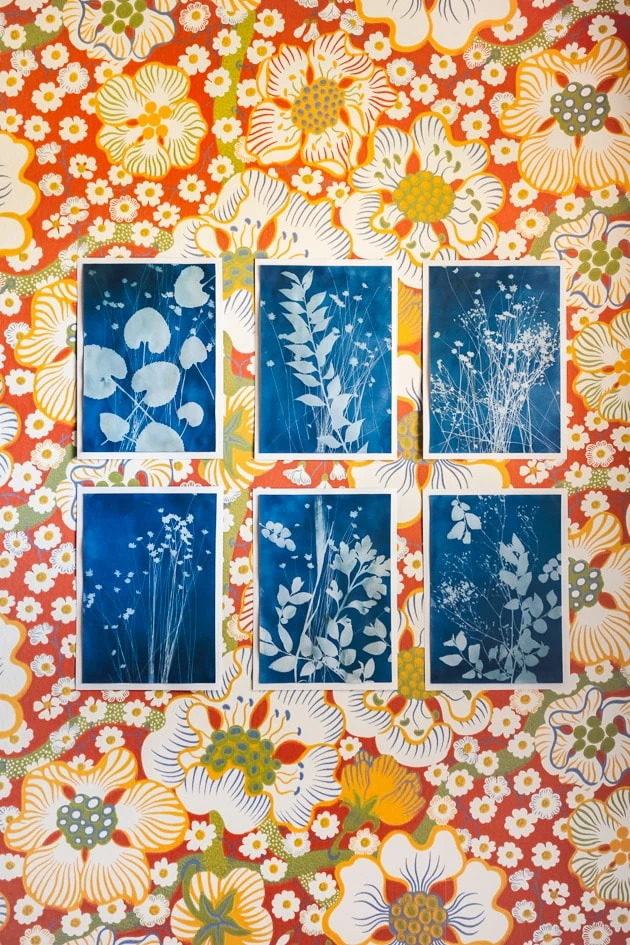
Craft the Rainbow
Cyanotype Sun Prints
-
Food & Entertaining
Mother’s Day Apron


Take a home tour
View All
-
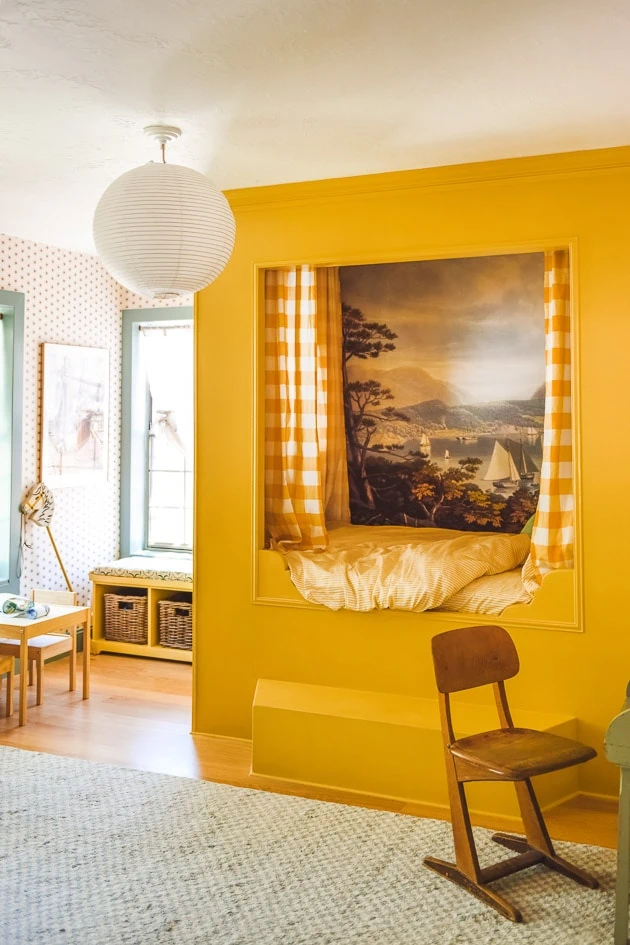
Bedroom
A sunny nautical-inspired children’s bedroom
-

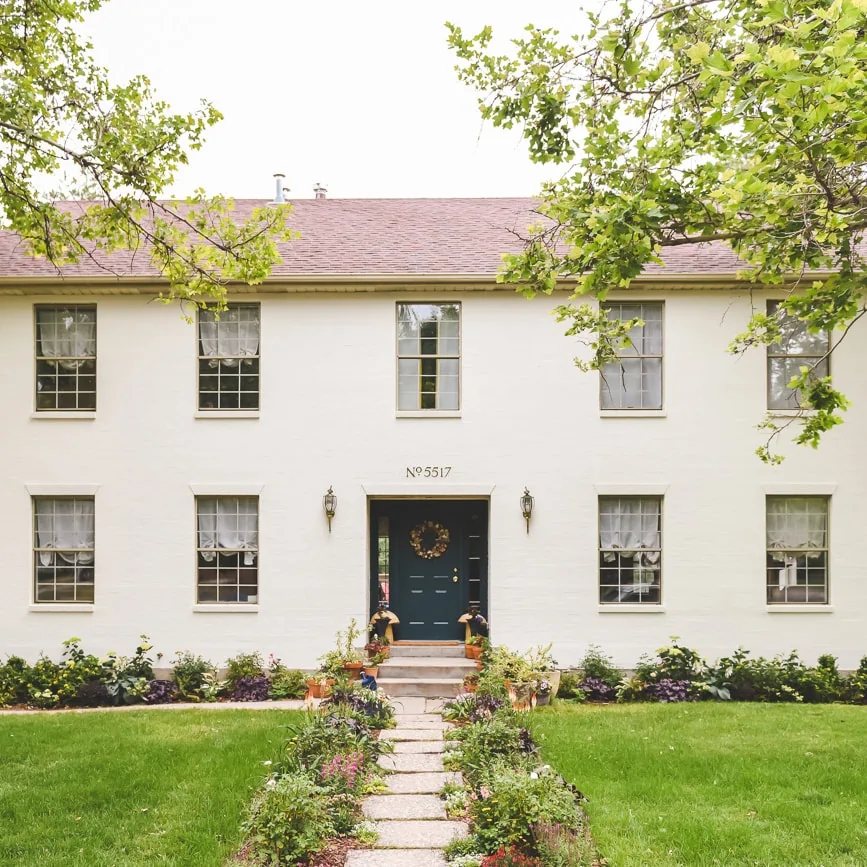
Before and After Makeover
Before and afters of our home renovation
-
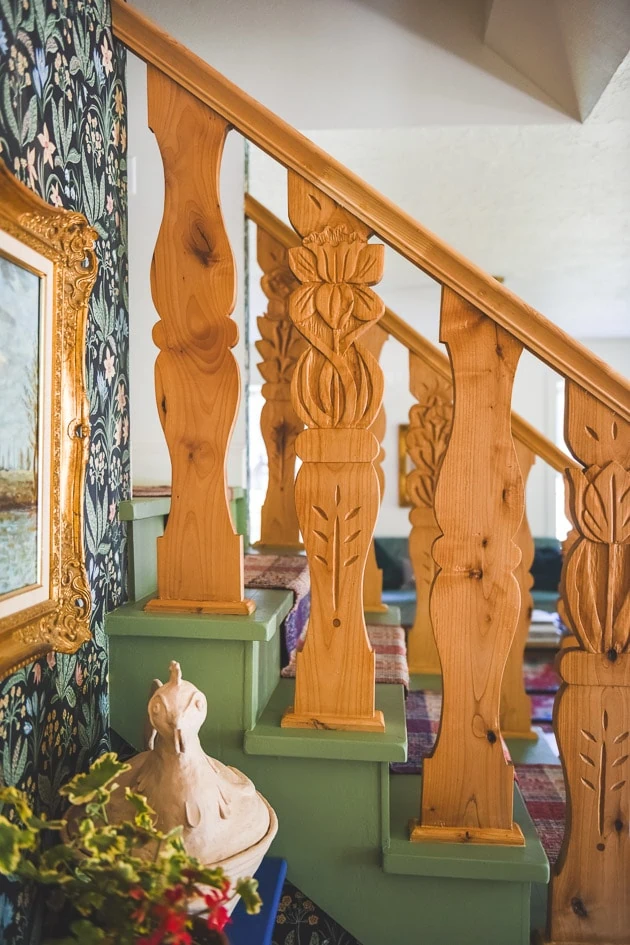
Decor & Interiors
A Scandinavian-folk inspired staircase
-
Decor & Interiors
Antique tile turned into wallpaper

Let’s Keep in Touch
Things We’re Loving
The Best of Lars
-
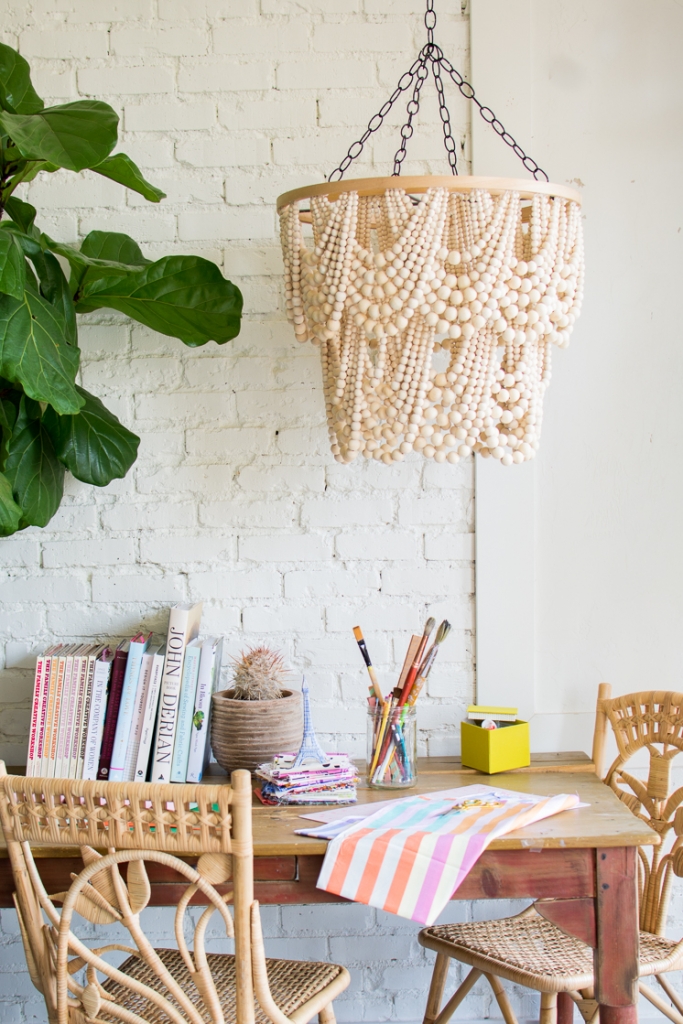
Home
DIY Beaded Chandelier
-
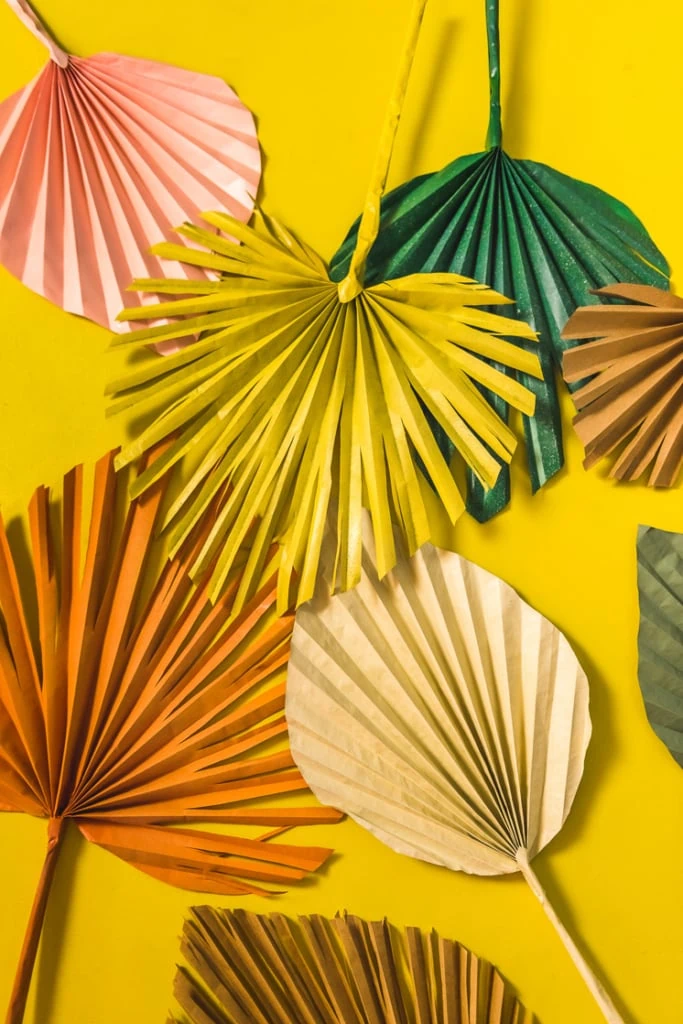
Arrangements
DIY Palm Leaves
-

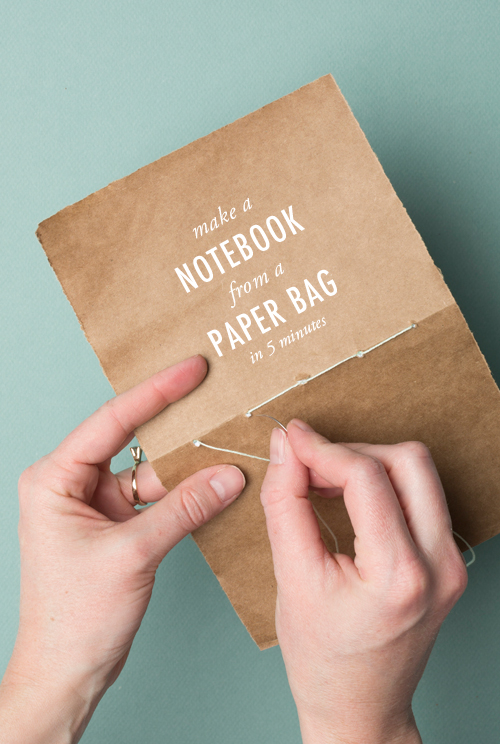
Paper
5 minute bookbinding
-

Party
DIY Paper Poppy Backdrop
-

Paper Flowers
DIY Paper daisy backdrop and video
-
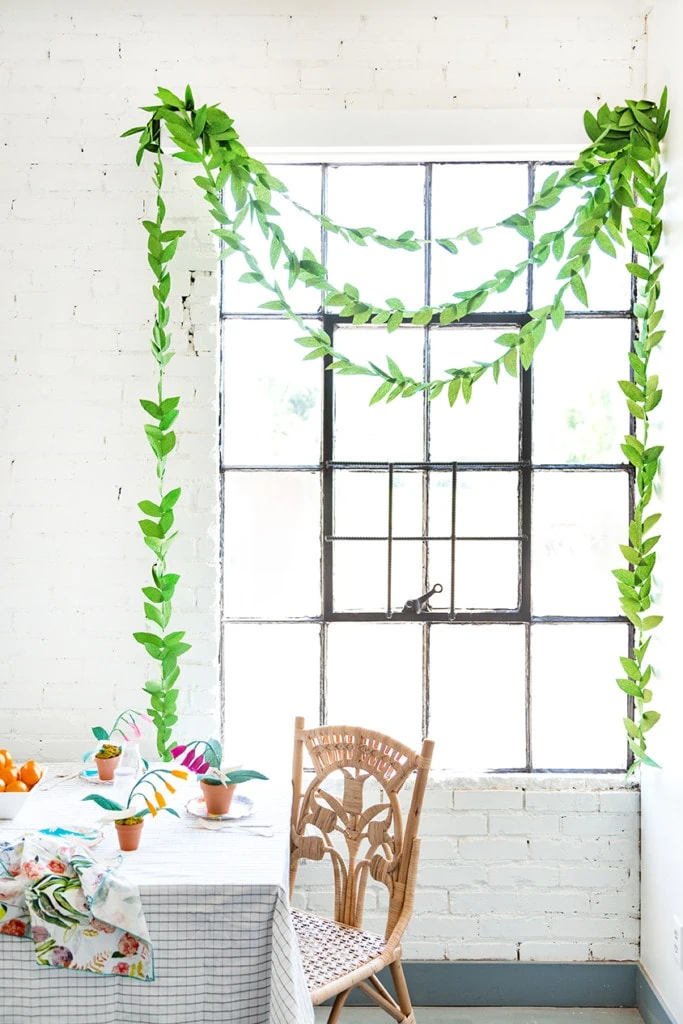
Party
DIY paper leaf garland
-
Events
Balloon arch tutorial
-
Uncategorized
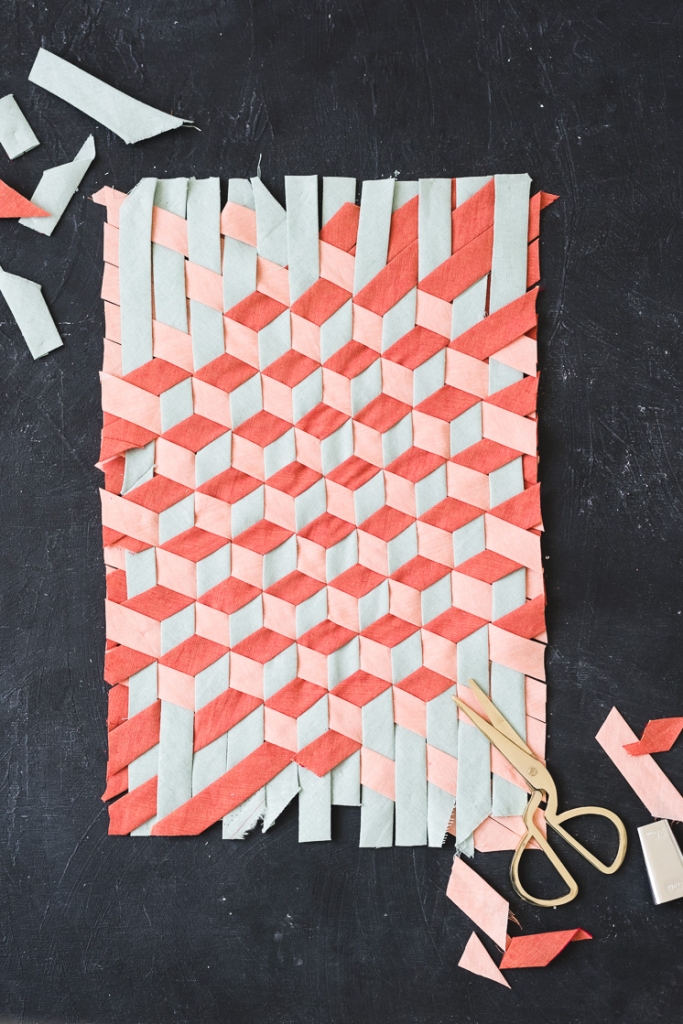
Tumbling Block Bias Tape Weaving


Subscribe to our newsletter