

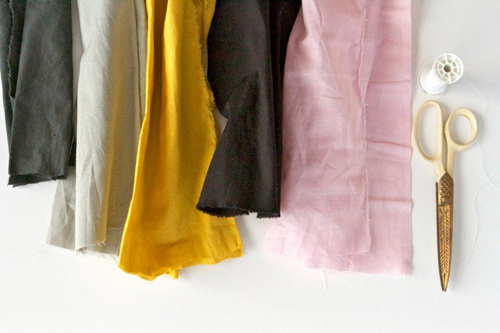
Step 1: Line the 5 colors up how you’d like them to appear in rows on the rug.
Step 2: Mirror the colors on the other side of the line so that there are 10 pieces.
Step 3: With the first piece of fabric (mine is pink) on the left, make the number 4 with the second piece (dark blue here).
Step 4: Put the first piece under the second piece and tie it, bringing it up to the top.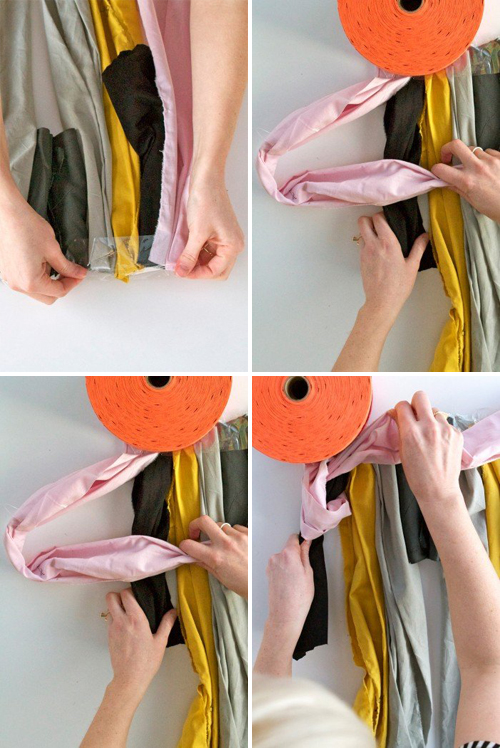 Step 5: With the first piece, move onto the next piece of fabric (yellow here) and repeat the process. Continue to the center of the colors and leave the pink alone for now.
Step 6: Work from the other side, moving from the right to the center. Make sure to reverse the number 4.
Step 7: When the two pinks meet in the middle, tie them together.
Step 8: Go onto the next row (the dark blue) and repeat the process.

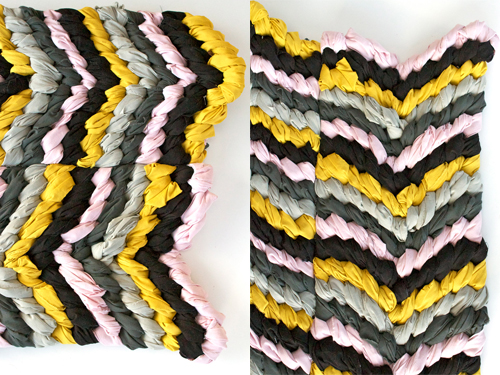
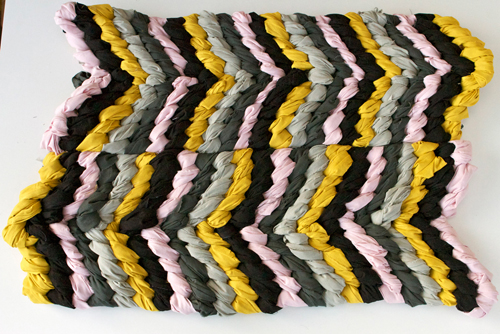
Step 9: Work until you’ve finished your desired length. Mine is 31″ from the outer points.
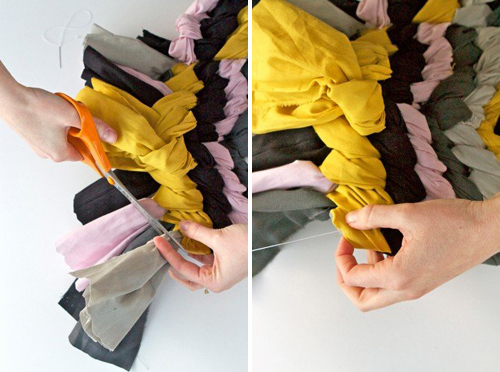
Step 11: Stitch the two together with a needle and thread. I stitched mine so that they go opposite ways.
Step 12: Cut the ends off so that they hide into the first layer of color.
Step 13: Stich the ends to the first layer so it’s secure and can’t wiggle out.
Comments